
10. Common Lighting Mistakes and How to Avoid Them
Welcome to the final installment of our "Illuminating Foundations" series. Over the past nine posts, we've explored lighting fundamentals, from basic concepts to advanced techniques. To conclude our series, we'll examine common lighting mistakes and provide practical solutions to help you create more successful lighting designs.
Mistake #1: Relying on a Single Light Source
One of the most prevalent lighting errors is using a single ceiling fixture to illuminate an entire room.
The Problem:
Creates flat, shadowless illumination
Causes eye strain from harsh overhead glare
Fails to highlight architectural features or décor
Provides inadequate task lighting for specific activities
The Solution:
Implement layered lighting with ambient, task, and accent sources
Use multiple fixtures at different heights
Include floor and table lamps to create mid-level lighting
Add wall sconces or picture lights to illuminate vertical surfaces
Remember our discussion on light layering from post #2: a well-designed space combines different types of lighting to create depth and visual interest. Professional lighting designers typically recommend a minimum of three light sources per room for adequate layering.
Mistake #2: Incorrect Fixture Sizing
Choosing fixtures that are disproportionate to the space creates visual disharmony.
The Problem:
Undersized fixtures look diminished and provide insufficient light
Oversized fixtures overwhelm the space and may create excessive brightness
Improperly scaled fixtures disrupt visual balance
The Solution:
For dining areas, choose fixtures with diameters roughly 1/2 to 2/3 the width of the table
In living spaces, ensure ceiling fixtures are proportional to the room (a simple formula: add room length and width in feet, then convert to inches for fixture diameter)
Consider ceiling height when selecting hanging fixtures (add 7.5 cm to the fixture height for each 30 cm of ceiling height above 2.4 m)
Use multiple smaller fixtures rather than one oversized piece when appropriate
Properly scaled fixtures not only provide appropriate illumination but also serve as visual anchors that help define spaces and create appropriate focal points.
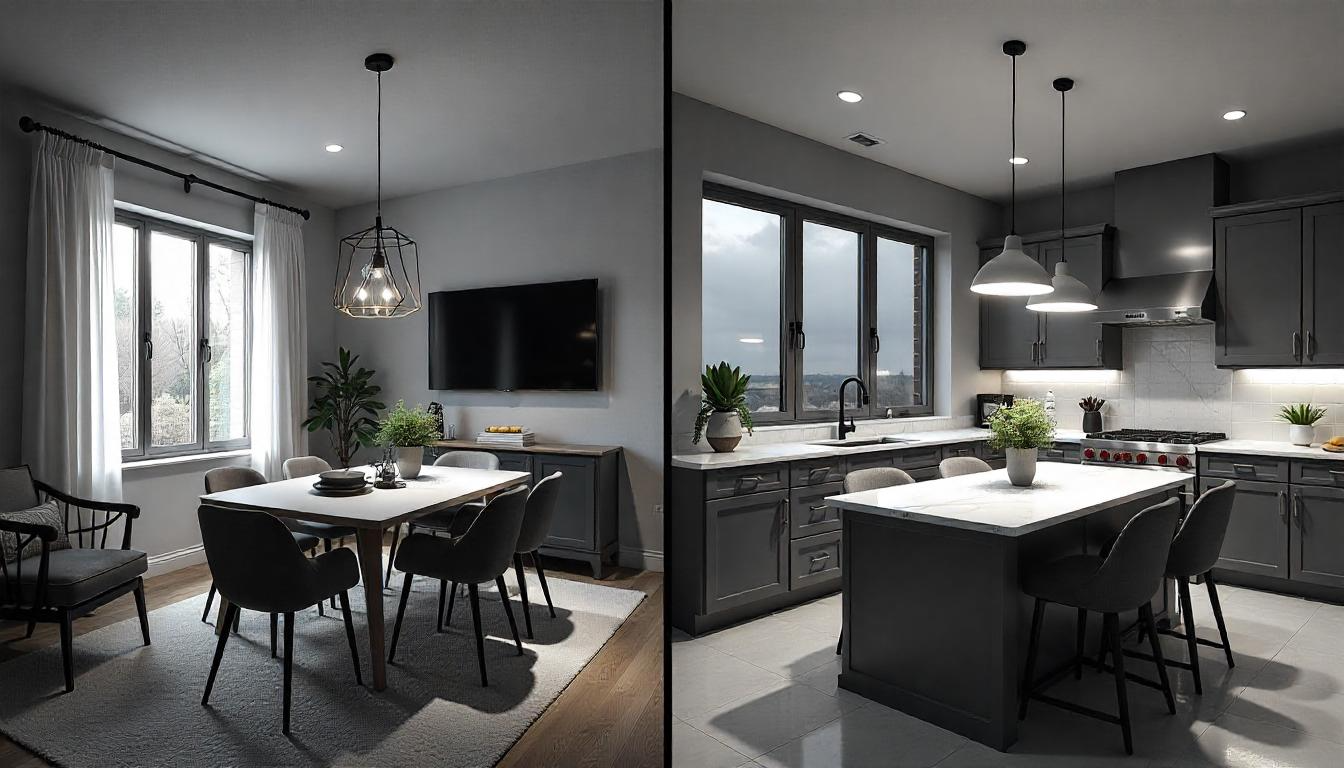
Mistake #3: Improper Pendant and Chandelier Height
Hanging fixtures at incorrect heights diminishes both function and aesthetics.
The Problem:
Fixtures hung too high provide inadequate illumination and lose visual impact
Fixtures hung too low obstruct views and create glare
Inconsistent heights across multiple pendants create visual confusion
The Solution:
Over dining tables, hang pendants 70-85 cm above the table surface
Over kitchen islands, hang pendants 75-90 cm above the counter
In open areas with high ceilings, hang fixtures 2.1-2.4 m above the floor
Consider the primary viewing angles when determining height
Ensure all pendants in a series hang at consistent heights
These height recommendations serve as starting points that should be adjusted based on specific fixture characteristics and room proportions.
Mistake #4: Inadequate Kitchen Lighting
Kitchens frequently suffer from poor lighting despite being high-activity spaces.
The Problem:
Relying solely on overhead lighting creates shadows on work surfaces
Insufficient task lighting makes food preparation difficult and potentially unsafe
Poor lighting between upper cabinets and countertops leaves work areas dim
The Solution:
Install under-cabinet lighting to illuminate countertops (aim for 750-1000 lux for task areas)
Position recessed lights toward the front edge of counters, not centered in walkways
Include pendant lighting over islands and dining areas
Consider toe-kick lighting for nighttime navigation
Add lighting inside glass-front cabinets for both functionality and display enhancement
Kitchen lighting should be planned in zones that correspond to the various activities that take place: prep areas, cooking surfaces, cleanup zones, and dining spaces.
Mistake #5: Ignoring Bathroom Lighting Needs
Bathrooms often have inadequate lighting, particularly around mirrors.
The Problem:
Single overhead fixtures create harsh shadows on faces
Insufficient lighting around mirrors makes grooming tasks difficult
Poor lighting creates potential safety hazards in wet areas
The Solution:
Position sconces or vertical fixtures on both sides of mirrors at eye level
Add a layer of overhead lighting for general illumination
Include waterproof recessed lighting above showers and tubs (IP65 rating or higher)
Consider subtle night lighting for safe navigation
Choose fixtures with appropriate IP ratings for wet areas
Face-level lighting at mirrors should provide approximately 500 lux of illumination and use a CRI of 90+ for accurate color rendering during grooming tasks.
Mistake #6: Overlooking Dimmer Switches
Failing to install dimmers limits flexibility and functionality.
The Problem:
Fixed brightness levels can't adapt to changing activities or times of day
Maximum brightness is often unnecessary and wastes energy
Without dimmers, creating ambiance becomes challenging
The Solution:
Install dimmers on all primary fixtures where possible
Consider smart dimmers for programmed lighting scenes
Use dimmable bulbs compatible with your dimming system
Include separate switches for different lighting layers to create flexible combinations
Remember that even task lighting benefits from dimming capabilities
Modern LED-compatible dimmers typically cost only 30-50% more than standard switches but multiply the functionality of your lighting system exponentially.
Mistake #7: Incorrect Colour Temperature Selection
Using inconsistent or inappropriate colour temperatures creates disharmony.
The Problem:
Mixing warm and cool lights without purpose creates visual discord
Inappropriate colour temperatures for specific activities affect functionality
Too-cool lighting in living spaces feels clinical and unwelcoming
Too-warm lighting in work areas can feel dim and cause eye strain
The Solution:
Choose colour temperatures appropriate for each space's function (refer to post #3)
Maintain consistency within visual zones
Consider warm light (2700-3000K) for living spaces
Use neutral to cool light (3500-4000K) for task-oriented spaces
If mixing temperatures, do so with clear purpose and separation
Colour temperature consistency is particularly important within a 60-degree field of vision; beyond that, transitions between different temperatures can be less jarring.
Mistake #8: Poor Placement of Recessed Lighting
Improper positioning of recessed lights reduces effectiveness and creates unwanted effects.
The Problem:
Lights placed too far apart create uneven "scalloping" on walls
Grid patterns focused on room centers leave walls dark
Improper aiming causes glare and shadows
The Solution:
Position recessed lights 60-75 cm from walls to properly illuminate vertical surfaces
Space recessed lights based on ceiling height (generally distance between fixtures equals 1/2 the ceiling height)
Use proper trim and housing for your specific application
Consider wall-wash trims for perimeter fixtures to evenly illuminate walls
Avoid placing recessed lights directly over seating to prevent uncomfortable glare
Professional lighting designers use the "crossover" principle to determine spacing: light from one fixture should reach the floor at about the same point where light from the adjacent fixture begins to diminish.
Mistake #9: Forgetting About Controls and Switches
Poor placement of controls creates inconvenience and inefficiency.
The Problem:
Switches located in inconvenient positions
Inability to control lights from multiple entry points
Confusion about which switch controls which fixture
All lights on a single circuit with no independent control
The Solution:
Position switches at entry points before you enter dark rooms
Consider three-way or four-way switches for rooms with multiple entrances
Group switches logically and label if necessary
Use separate circuits for different lighting layers
Consider smart switches or scene controllers for enhanced convenience
Switch placement should be standardized throughout a building when possible, typically 105-120 cm from the floor and 10-15 cm from door frames.
Mistake #10: Neglecting Natural Light Interaction
Failing to consider how artificial lighting interacts with natural light leads to inefficiency and imbalance.
The Problem:
Artificial lighting that competes with or doesn't complement natural light
Inability to adjust for changing daylight conditions
Glare from artificial lights reflecting on windows at night
Energy waste from lights running at full output despite ample daylight
The Solution:
Position artificial lights to complement natural light patterns
Use daylight sensors to automatically adjust artificial lighting
Consider window treatments that control natural light without eliminating it
Create lighting zones based on proximity to windows
Remember our discussions from post #7 about integrating natural and artificial light
Spaces with significant natural light can often function with 40-60% less artificial lighting during daylight hours if properly designed with complementary systems.
Conclusion: The Path to Better Lighting
As we conclude our "Illuminating Foundations" series, remember that good lighting design balances art and science. It requires understanding technical principles while maintaining sensitivity to how spaces feel and function.
The most successful lighting:
Supports the activities taking place in each space
Creates visual comfort and reduces eye strain
Enhances the appearance of people and objects
Adapts to changing conditions and needs
Operates efficiently and sustainably
Contributes to overall wellbeing
Whether you're designing lighting for a new space or improving an existing one, avoid these common mistakes by approaching lighting holistically. Consider the layering of light, the quality of illumination, the positioning of fixtures, and the needs of the people who will use the space.
Professional lighting design is an investment that pays dividends in functionality, aesthetics, energy efficiency, and human comfort. The principles we've covered throughout this series provide a foundation for creating lighting that goes beyond basic illumination to enhance the experience of every space.
Thank you for joining us on this journey through the foundations of lighting design. We hope this series has illuminated the path toward creating spaces that are not just well-lit, but beautifully illuminated.
This concludes our "Illuminating Foundations" series by Illuxia Design, a design consultancy specialising in creating elegant and sophisticated lighting solutions. Based in Orange, NSW, our expert team provides professional lighting design services throughout regional New South Wales and beyond. Contact us today to transform your space with thoughtful illumination.